 Sign in to Mod The Sims
 TS3 Animator 4
 TS3 Animator 4
MTS has all free content, all the time. Donate to help keep it running.
SCREENSHOTS
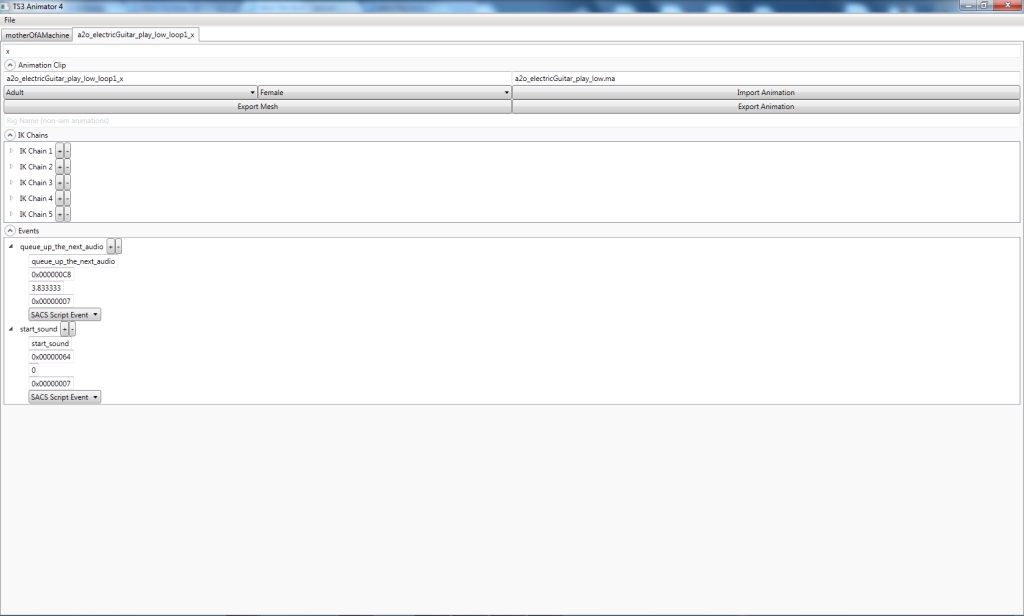

animationEditor.jpg - width=1024 height=616
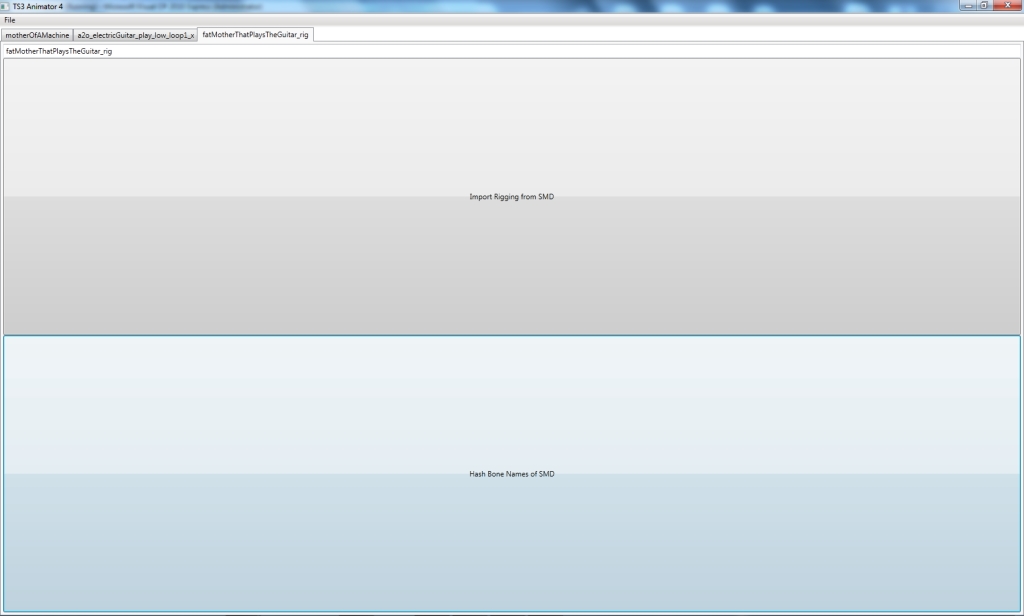
rigEditor.jpg - width=1024 height=616
stateMachineEditor.jpg - width=1024 height=616
 PRESENTING...
 TS3 Animator 4
With JAZZ EDITOR
-----The ability to export to .package files
-----A graphical jazz script editor which is seamlessly integrated with existing functionality
Getting Started
For a very easy guide that will take you from downloading TS3 Animator to making your first animated object, go here.
General Notes:
- Clicking on File->Export will export all currently open tabs to a .package file of your choosing. Note that if that package file already exists, items will merely be added to it or replaced, and the existing name map (seen as "_KEY" in S3PE) will be merged with the one generated by TS3 Animator.
- While clicking File->Save with an Animation tab selected will save the animation to a standard TS3 animation, doing that with a Jazz Script tab selected will not do so. It will instead save the selected jazz script in my own format, which is the only format of jazz script that TS3 Animator can open. This brings me to my next point:
- TS3 Animator can only open the jazz scripts that it saves in the .sacs format. It cannot open compiled jazz scripts once they are exported. For that, I would recommend a low-level tool like SmoothJazz.
- To add a node, drag one of the circles on the right of the Jazz Editor interface to the big white space in the center of your screen.
- To connect two nodes, click on one of the very small circles on the parent node, and, keeping the left mouse button held down, move the mouse to the node that you wish to make the connection with. Then, release the left mouse button. Note that only certain types of nodes can be connected. See figure 1 for more information.
- To delete a node, move your mouse over it and right-click.
- To delete a connection between nodes, move your mouse over one of the connections (visible as lines) until the line becomes emboldened. Then, right-click.
- To pan left, right, up, or down, simply move your mouse to the leftmost, rightmost, topmost, or bottom-most edge, respectively, of the aforementioned big white space and make small circular motions with the mouse.
- The only field that can be left blank is the Track Mask field in the Animation node. Other than that, all fields must have some valid data in them.
- A ChoiceNode has only one field. If a ChoiceNode is connected to a RandomNode, a floating-point value from 0.0 to 1.0 which is the weight of that choice (1.0 is default) must be entered into the ChoiceNode's text box. Otherwise, if a ChoiceNode is connected to a SelectOnParameterNode, it must contain the value that the parameter connected to the SelectOnParameterNode must contain in order for the ChoiceNode to be executed.
- The Rig exporter is tested.
- The RSLT exporter is not.
Please PM me or make a post here if you have trouble understanding anything or if TS3 Animator seems to be acting up on your system. While TS3 Animator has been well-tested, certain features such as the custom rig creator and the state machine editor (aka Jazz Editor) are features that should only be used if you are willing to frustrate yourself. Please save often if you use anything other than the animation editor.
Figure 1: Node-Node Connections
Gray connector .............................................................................. Anything except for ActorDefinition, ParameterDefinition, and ChoiceNode
Red connector ............................................................................... ChoiceNode
Blue connector .............................................................................. ChoiceNode
Green connector ............................................................................ ActorDefinition
Purple connector ............................................................................ ParameterDefinition
Credit
Peter Jones - S3PI
Source Code
Please PM me at MTS for the source code.
Additional Credits:
Atavera's S3PE Wrappers - Without these, I could never have debugged my animation exporter. Thanks!
Gwenh and others - Thanks for sticking around and testing out TS3 Animator when others left, and for finding that really annoying bug that everybody but me had.
TigerM - SmoothJazz helped me to perfect my Jazz Editor, I knew it worked when I could open the files TS3 Animator exported! Please come back to us!
Patch Notes - 11/20/2011
- Fixed bad 3D math causing corrupt faces (If the sim's face still looks like it just got melted and/or run over by a bus, check the new "Face Fix" checkbox to the right of the "Export Anim" button)
- Fixed an issue involving TS3 Animator crashing (there were lots of those), as in, crashing whenever you do anything. It doesn't do that anymore. You're safe here. Sleep now. Enjoy your meal. Would you like to supersize that?
| Filename | Size | Downloads | Date | |||||
|
TS3 Animator.zip
| This version of TS3 Animator has complete S3OC->Animated Object support
Size: 225.5 KB · Downloads: 4,654 · 28th Nov 2011 |
225.5 KB | 4,654 | 28th Nov 2011 | |||||
| For a detailed look at individual files, see the Information tab. | ||||||||
Key:
- - File was updated after upload was posted
Install Instructions
Quick Guide:
1. Click the file listed on the Files tab to download the file to your computer.
2. Extract the zip, rar, or 7z file. Now you will have either a .package or a .sims3pack file.
For Package files:
1. Cut and paste the file into your Documents\Electronic Arts\The Sims 3\Mods\Packages folder. If you do not already have this folder, you should read the full guide to Package files first: Sims 3:Installing Package Fileswiki, so you can make sure your game is fully patched and you have the correct Resource.cfg file.
2. Run the game, and find your content where the creator said it would be (build mode, buy mode, Create-a-Sim, etc.).
For Sims3Pack files:
1. Cut and paste it into your Documents\Electronic Arts\The Sims 3\Downloads folder. If you do not have this folder yet, it is recommended that you open the game and then close it again so that this folder will be automatically created. Then you can place the .sims3pack into your Downloads folder.
2. Load the game's Launcher, and click on the Downloads tab. Find the item in the list and tick the box beside it. Then press the Install button below the list.
3. Wait for the installer to load, and it will install the content to the game. You will get a message letting you know when it's done.
4. Run the game, and find your content where the creator said it would be (build mode, buy mode, Create-a-Sim, etc.).
Extracting from RAR, ZIP, or 7z: You will need a special program for this. For Windows, we recommend 7-Zip and for Mac OSX, we recommend Keka. Both are free and safe to use.
Need more help?
If you need more info, see:
- For package files: Sims 3:Installing Package Fileswiki
- For Sims3pack files: Game Help:Installing TS3 Packswiki
Also Thanked - Users who thanked this download also thanked:
Packs Needed
None, this is Sims 3 base game compatible!
Other Information
Operating System:
– Windows
: Windows XP, Windows Vista, Windows 7, etc
Utility Type:
– CC Editors
: Tools for modifying .package files, sims*pack files, and resources contained within those files.
Plugin Type:
– Not Applicable
: Standalone tools
Tags
More Downloads BETA
Here are some more of my downloads: