 Sign in to Mod The Sims
 Basegame Neighbourhood Volcanoes, with Effects & Tunnels
 Basegame Neighbourhood Volcanoes, with Effects & Tunnels


sdNeighbourhoodVolcano_GreenDwarf.jpg - width=1279 height=783
Green Dwarf Neighbourhood Volcano with Animated Lake & Wild Birds
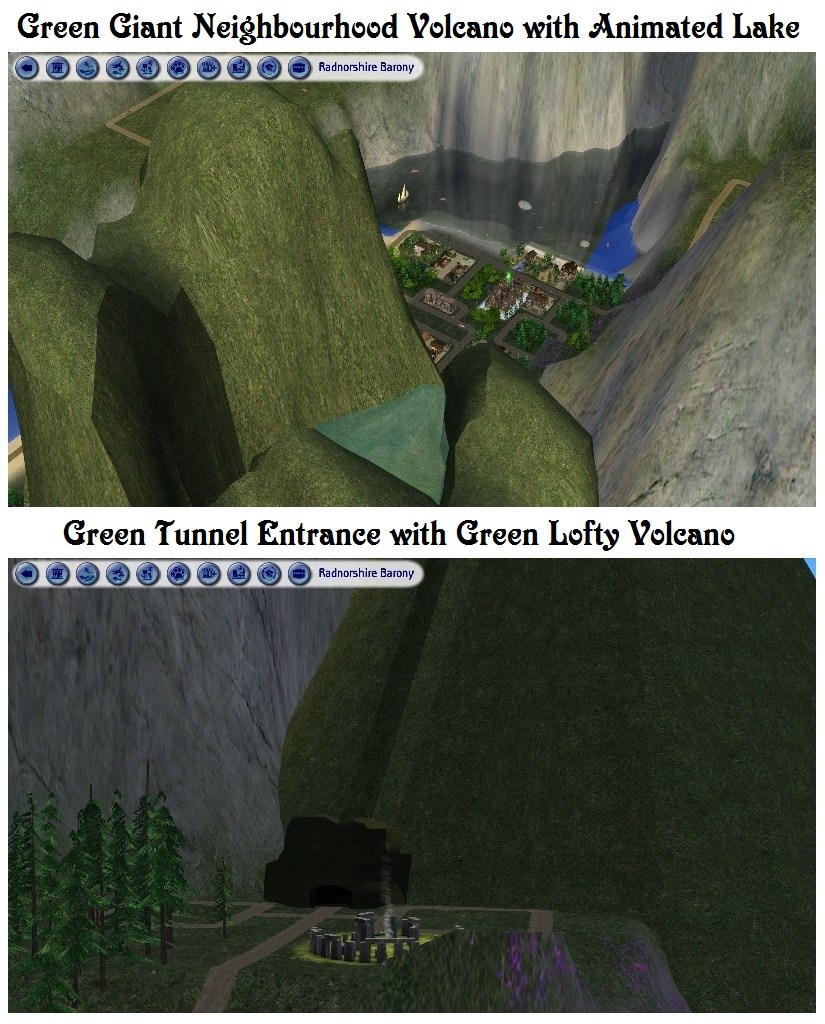
sdNeighbourhoodVolcano_GreenGiantLofty.jpg - width=825 height=1024
Green Neighbourhood Volcanoes with Animated Lake & Tunnel Entrance
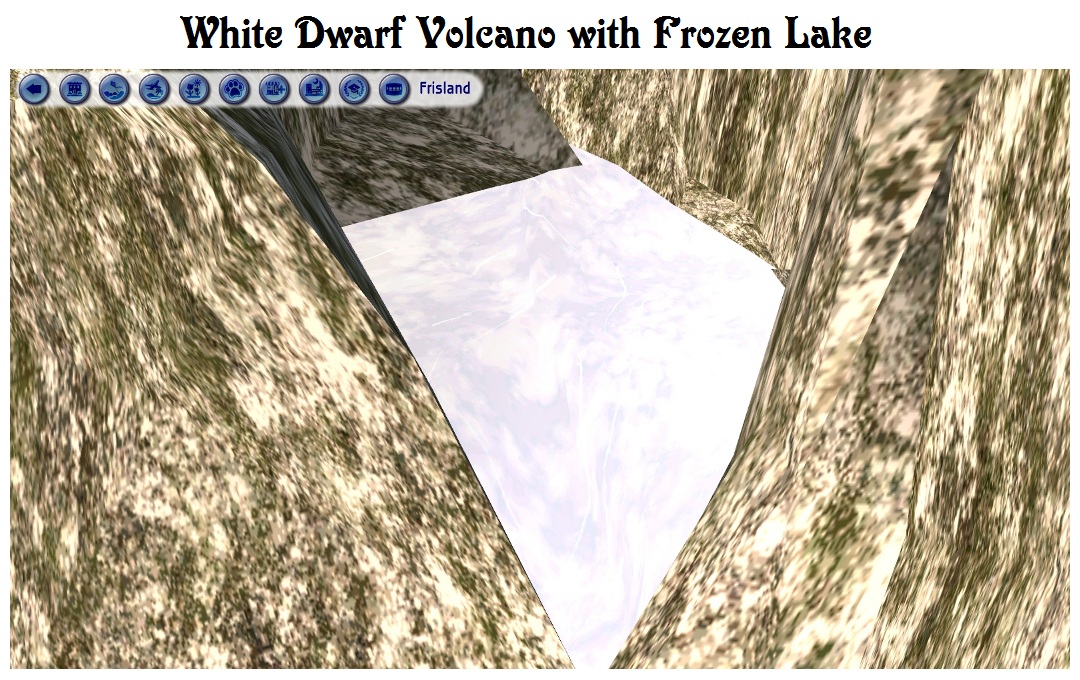
sdNeighbourhoodVolcano_WhiteDwarf.jpg - width=1080 height=680
White Dwarf Volcano with Frozen Lake
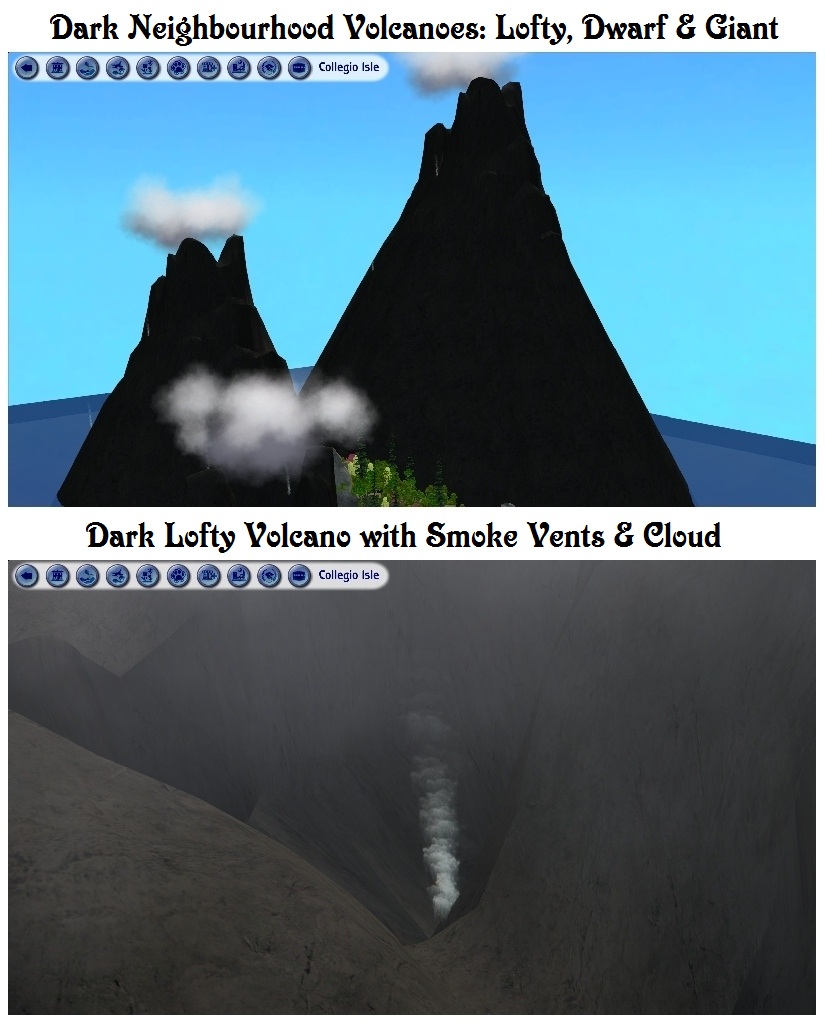
sdNeighbourhoodVolcanoes_Dark.jpg - width=825 height=1024
Dark Neighbourhood Volcanoes
sdNeighbourhoodVolcanoes_Desert.jpg - width=1279 height=785
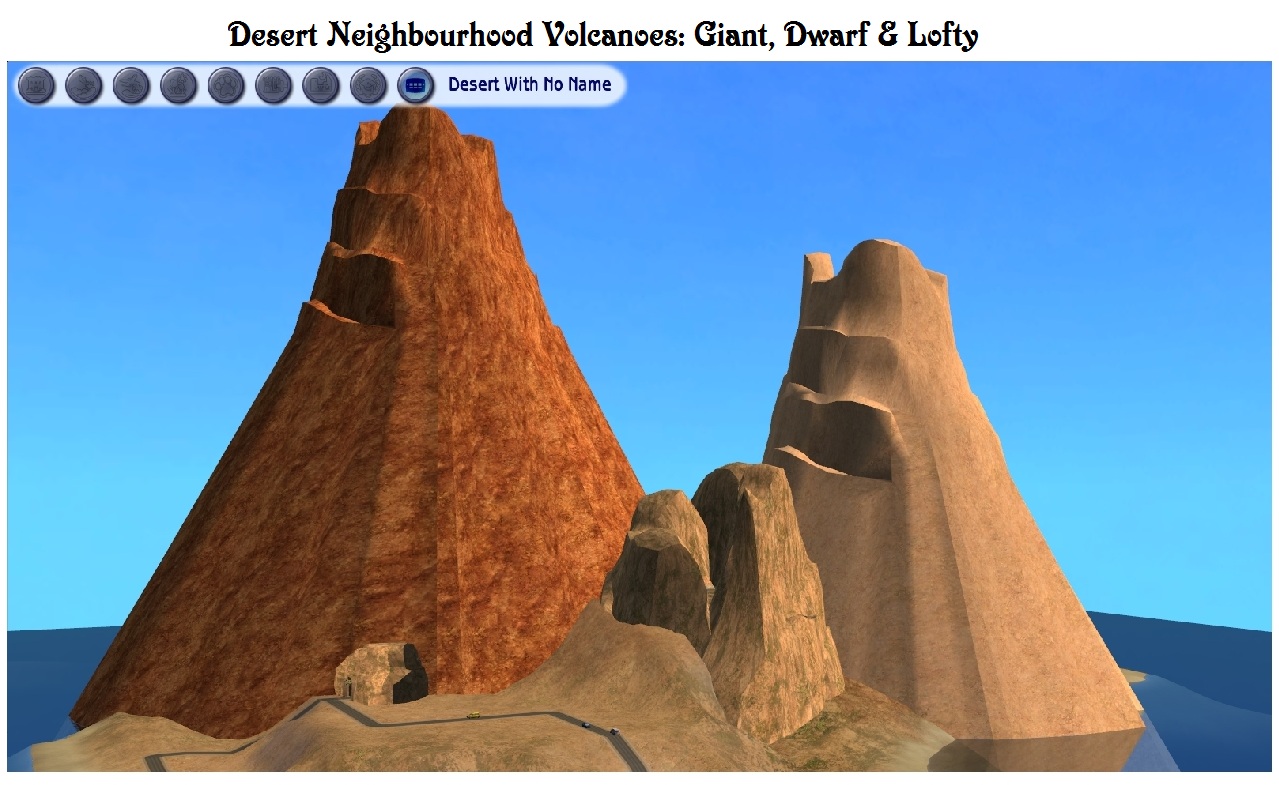
Desert Neighbourhood Volcanoes
sdNeighbourhoodVolcanoes_DesertHotsprings-Tunnel.jpg - width=825 height=1024
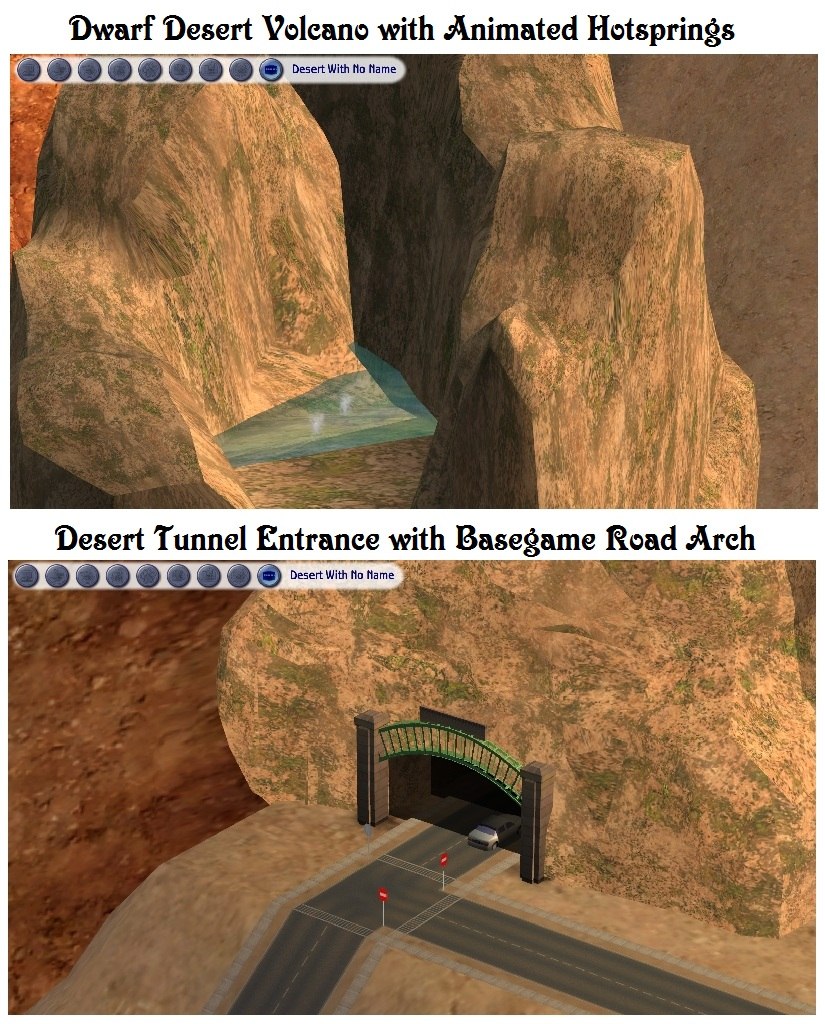
Desert Volcanoes with Hotsprings & Tunnel
sdNeighbourhoodVolcanoes_Grey.jpg - width=1279 height=785
Grey Neighbourhood Volcanoes
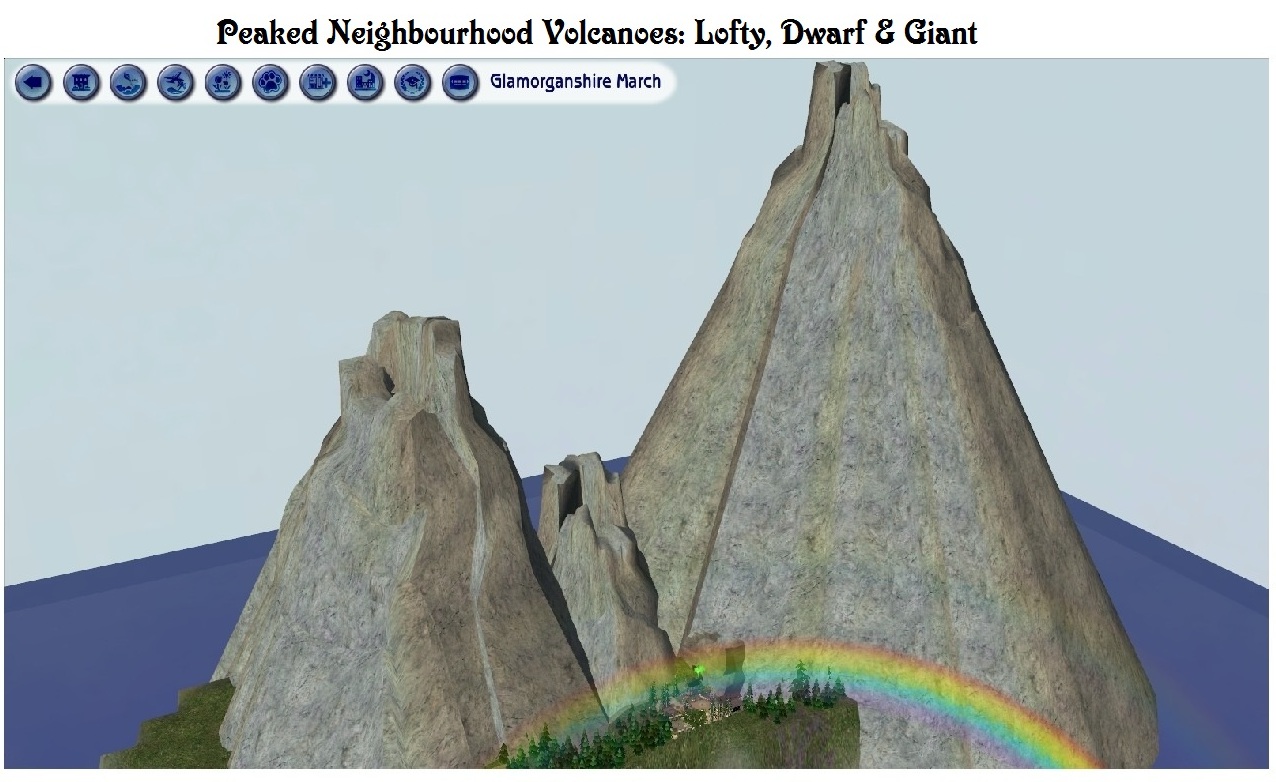
sdNeighbourhoodVolcanoes_Peaked.jpg - width=1276 height=782
Peaked Neighbourhood Volcanoes
sdNeighbourhoodVolcanoes_White.jpg - width=825 height=1024
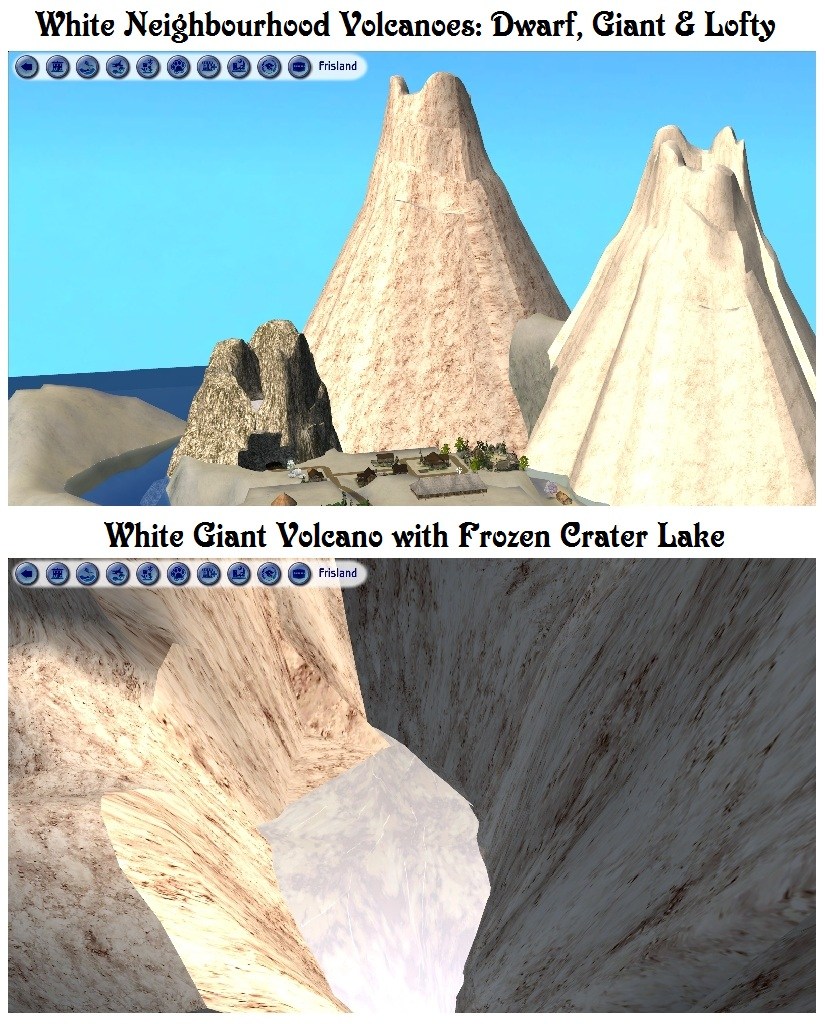
White Neighbourhood Volcanoes with Frozen Lake
sdNeighbourhoodVolcano_Title.jpg - width=900 height=900
Neighbourhood Volcano Title Pic.
sdNeighbourhoodVolcano_White-SnowyTunnels.jpg - width=825 height=1024
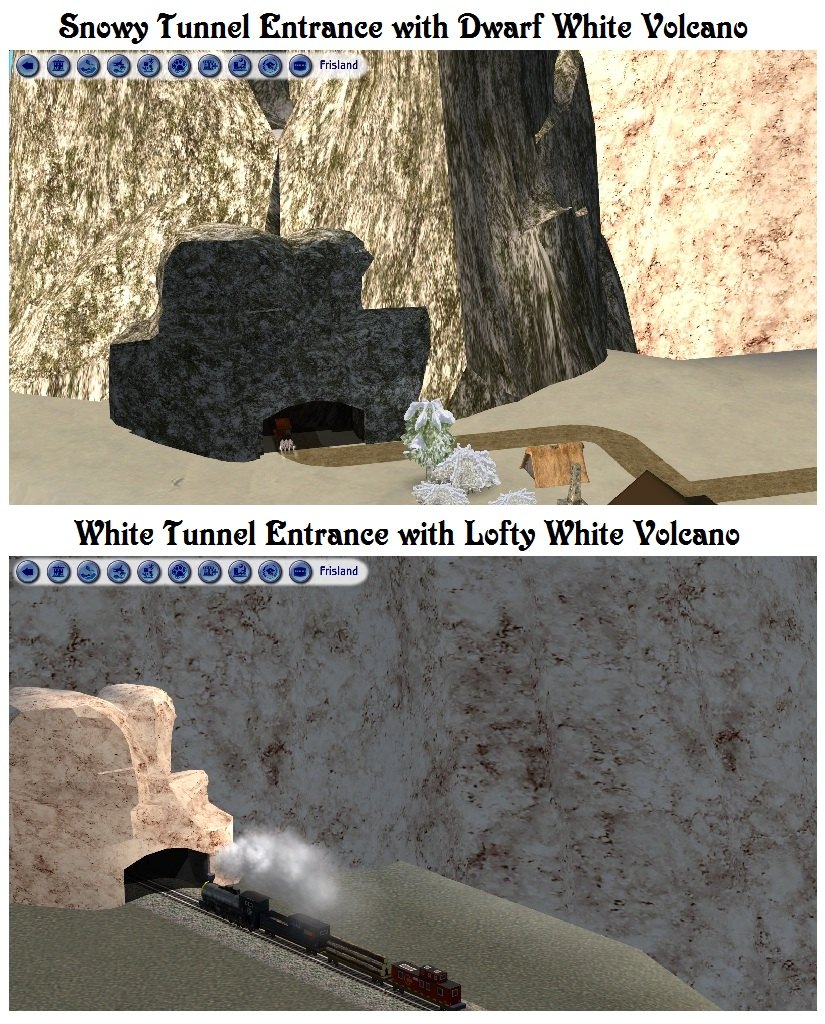
Snowy Tunnel Entrances


Updated: 26th Sep 2016 at 4:13 AM - Minor change in text.

Introduction
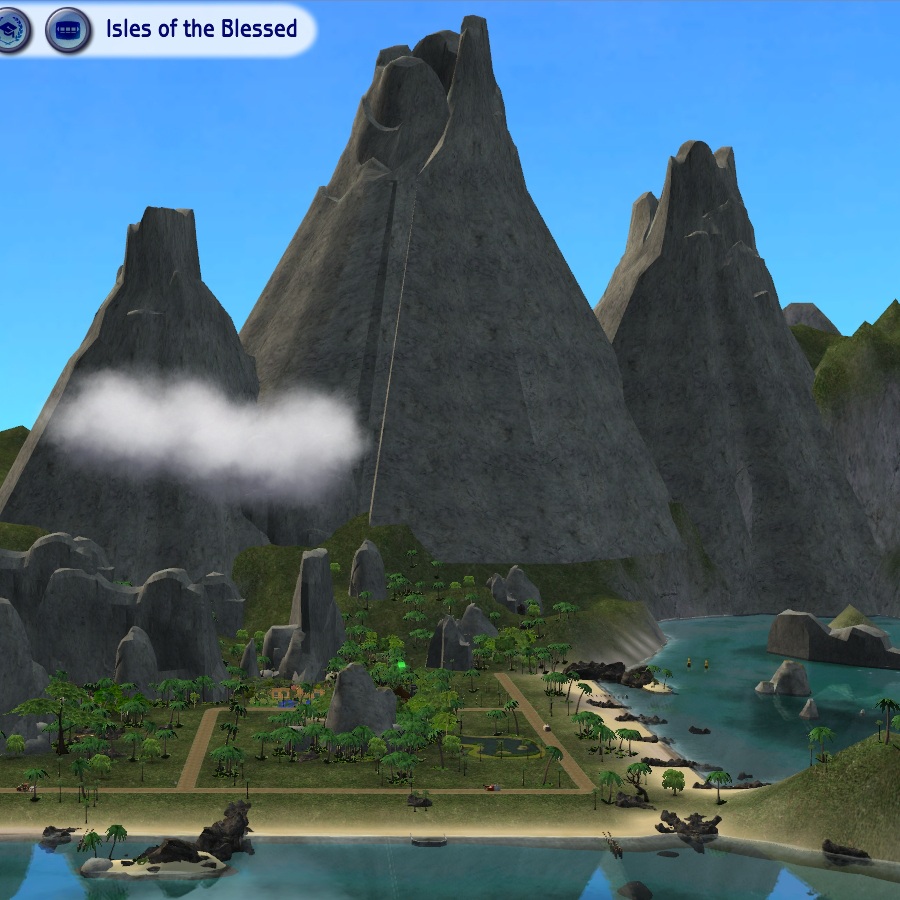
Every good paradise needs a serpent, and for my Isles of the Blessed vacation neighbourhood that had to be a volcano. I imported the volcano from Castaway Stories, but found it almost unusable due to a very large footprint and in addition the mountain itself seemed very small. I discovered that 75% of the Castaway volcano is buried below the baseline, which does make it useful if you want part of the volcano to jump off a very high cliff and still be able to reach the ground, but in the majority of cases this is far from ideal. Of course the huge buried footprint mystifies and exacerbates the placement issue.

Description
Based on the mesh from Castaway Stories, this set of volcanoes has the following features:
1) The original volcano mesh has been substantially cleaned up, its orientation and positioning rationalized, and its height very slightly increased. This forms the Dwarf size of the set.
2) By displacing the whole mesh upwards, I created the Lofty volcano at 2.5 times and the Giant at 3.5 times the altitude of the Dwarf. Even the Giant still has over 12% of its height below the baseline, so that it many cases it can be placed on non-level ground without creating gaps.
3) All volcanoes are patched so that they can be placed on or near lots and roads. Unless you want Sims to live or visit "under the mountain", care should be taken to avoid covering lots and roads with a volcano. To reduce neighbourhood resource use, I suggest removing any trees or other neighbourhood objects that will be obscured by the mountain.
4) If you do wish to place residences, commercial or community lots within a volcano, I suggest that you use the Build Mode Volcano set (not yet released) rather than these. Unless the lot is placed so that part of it protrudes beyond or is very close to the edge of a Neighbourhood Volcano, it will be inaccessible. In addition, the Neighbourhood Volcanoes are not mapped with an internal wall and floor, so they become invisible when the camera is inside. I had initially setup the Neighourhood Volcanoes with an interior mesh, but found that the volcano graphic would flash off and on in a very distracting way while inside a lot located under a neighbourhood mountain.
5) Typically, custom neighbourhood objects are not usable in Basegame. However, these volcano objects were modified to act like built-in objects so that they would show up in the Basegame neighbourhood catalogue's Landmark section (or the Basegame neighbourhood Stones section in the case of the tunnel entrances). Please note that because they do not display the custom content star, none of these objects can be deleted from within the game - use Windows Explorer if you wish to remove any of them, while the game is not running.
6) Each size of mountain is available in five colours: Dark, Desert, Green, Grey (Standard or Peaked) and White. All except "White" directly reference basegame textures. "Grey" is the colour of the original volcano and all basegame neighbourhood rocks, so I left these as the "plain vanilla" volcanoes, with no effects or additions.
7) "Dark" volcanoes each have four smoke and steam vents, and consequently their peaks are covered in mist.

8) "Desert" volcanoes feature a small crater lake fed by two hotsprings.
9) "Green" volcanoes are covered with vegetation, rippling lakes fill their craters, and birds circle overhead.

10) "Peaked" Volcanoes use the standard grey colour, have minimally sized craters and no effects.

11) "White" volcanoes contain crater lakes that are permanently frozen and they also have no effects.
12) The six tunnel entrances are intended to improve the look of roads and railways that disappear underneath a volcano or any other neighbourhood feature. The tunnels are found in the Stones section of the neighbourhood catalogue - one for each of the five volcano colour groups, plus "Snowy". For a more formal look, note that these custom tunnels may be dressed up by placing the basegame neighbourhood Road Arch so that it connects directly to the tunnel entrance.

Terms of Use
You may use any of these objects in uploaded neighbourhoods, whether for free or pay. It is nice but not necessary to provide a credit and link to this page.
Credits
GIMP 2, IrfranView, Microsoft Paint and Photo Editor for graphics texturing, processing, sizing, and labeling
Jfade's Compressorizer for minimizing file size
Milkshape 3D, Ultimate Unwrap3D Pro and UV Mapper Professional, for 3D modeling and mapping
Numenor's AnyGameStarter, for development and testing
Quaxi, via Numenor, for the technique to make custom neighbourhood objects available in basegame
SimPE, PJSE, and CEP for Sims 2 object creation
StephSim's Gwrych series for the neighbourhood settings shown in the majority of screenshots
In the case of the snowy Frisland Viking themed vacation neighbourhood ("always winter, never spring"), I am using StephSim's A Small Kingdom University Map, NNNNatali's Winter Roads and Winter Terrain, OoGaBbErZiCkEoO's More Neighborhood trees for winter, Eva's Viking Hood Decorations, the Viking Lot from Bastelbox, and many of Tye's Skyrim Nordic Lots. Incidentally, the EA steam train is not a normal feature of the mythical Frisland medieval neighbourhood!
Polygon Counts
Dark & Grey Volcanoes: 2132 faces, 1648 vertices
Desert Volanoes: 2227 faces, 1711 vertices
Green Volcanoes: 2328 faces, 1765 vertices
Peaked Volcanoes: 2133 faces, 1985 vertices
White Volcanoes: 2325 faces, 1775 vertices
Tunnel Entrances: 934 faces, 1203 vertices
| Filename | Size | Downloads | Date | |||||
|
sdNeighbourhoodVolcano.zip
| Basegame Neighbourhood Volcanoes, with Effects & Tunnels
Size: 2.02 MB · Downloads: 3,269 · 13th Jul 2016 |
2.02 MB | 3,269 | 13th Jul 2016 | |||||
| For a detailed look at individual files, see the Information tab. | ||||||||
Key:
- - File was updated after upload was posted
Install Instructions
1. Download: Click the download link to save the .rar or .zip file(s) to your computer.
2. Extract the zip, rar, or 7z file.
3. Place in Downloads Folder: Cut and paste the .package file(s) into your Downloads folder:
- Origin (Ultimate Collection): Users\(Current User Account)\Documents\EA Games\The Sims™ 2 Ultimate Collection\Downloads\
- Non-Origin, Windows Vista/7/8/10: Users\(Current User Account)\Documents\EA Games\The Sims 2\Downloads\
- Non-Origin, Windows XP: Documents and Settings\(Current User Account)\My Documents\EA Games\The Sims 2\Downloads\
- Mac: Users\(Current User Account)\Documents\EA Games\The Sims 2\Downloads
- Mac x64: /Library/Containers/com.aspyr.sims2.appstore/Data/Library/Application Support/Aspyr/The Sims 2/Downloads
- For a full, complete guide to downloading complete with pictures and more information, see: Game Help: Downloading for Fracking Idiots.
- Custom content not showing up in the game? See: Game Help: Getting Custom Content to Show Up.
- If you don't have a Downloads folder, just make one. See instructions at: Game Help: No Downloads Folder.
More Downloads BETA
Here are some more of my downloads: